Shell, debug & node shell
When logs aren't enough, get a real terminal. Kubus gives you four kinds of shell, each opening as a tab in the bottom dock. Every tab is a full xterm.js terminal with colours, cursor control and automatic resize.
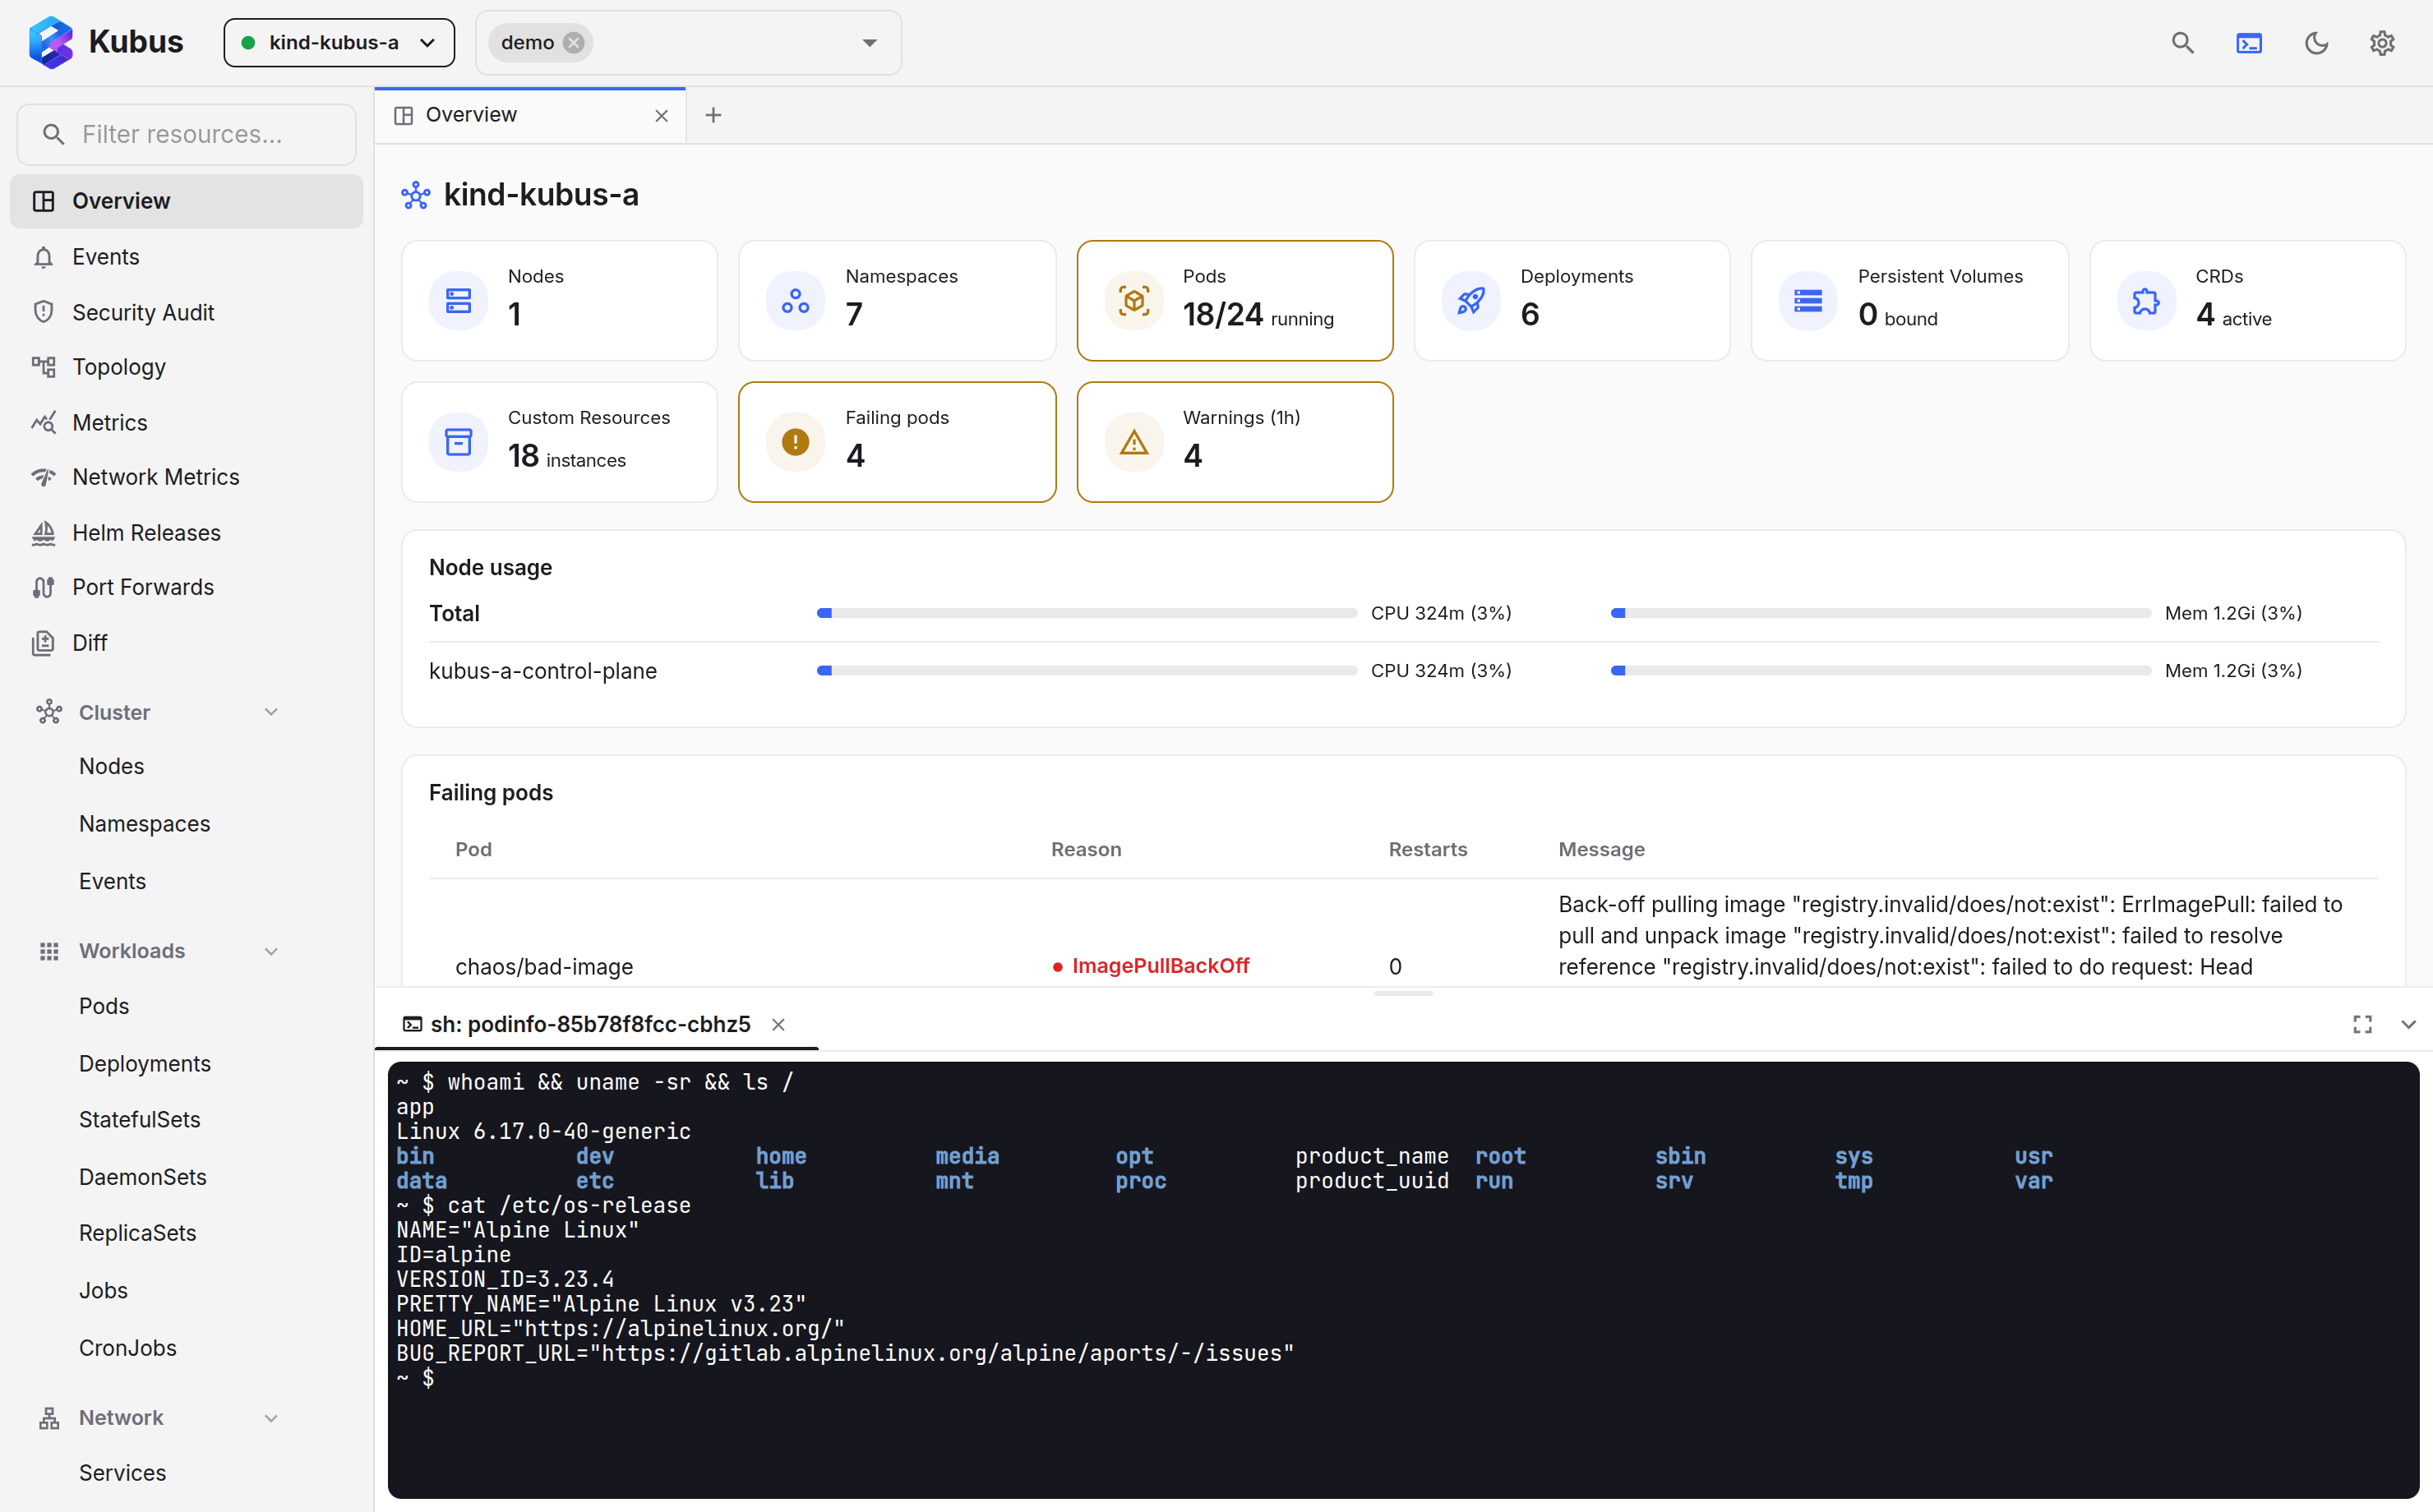
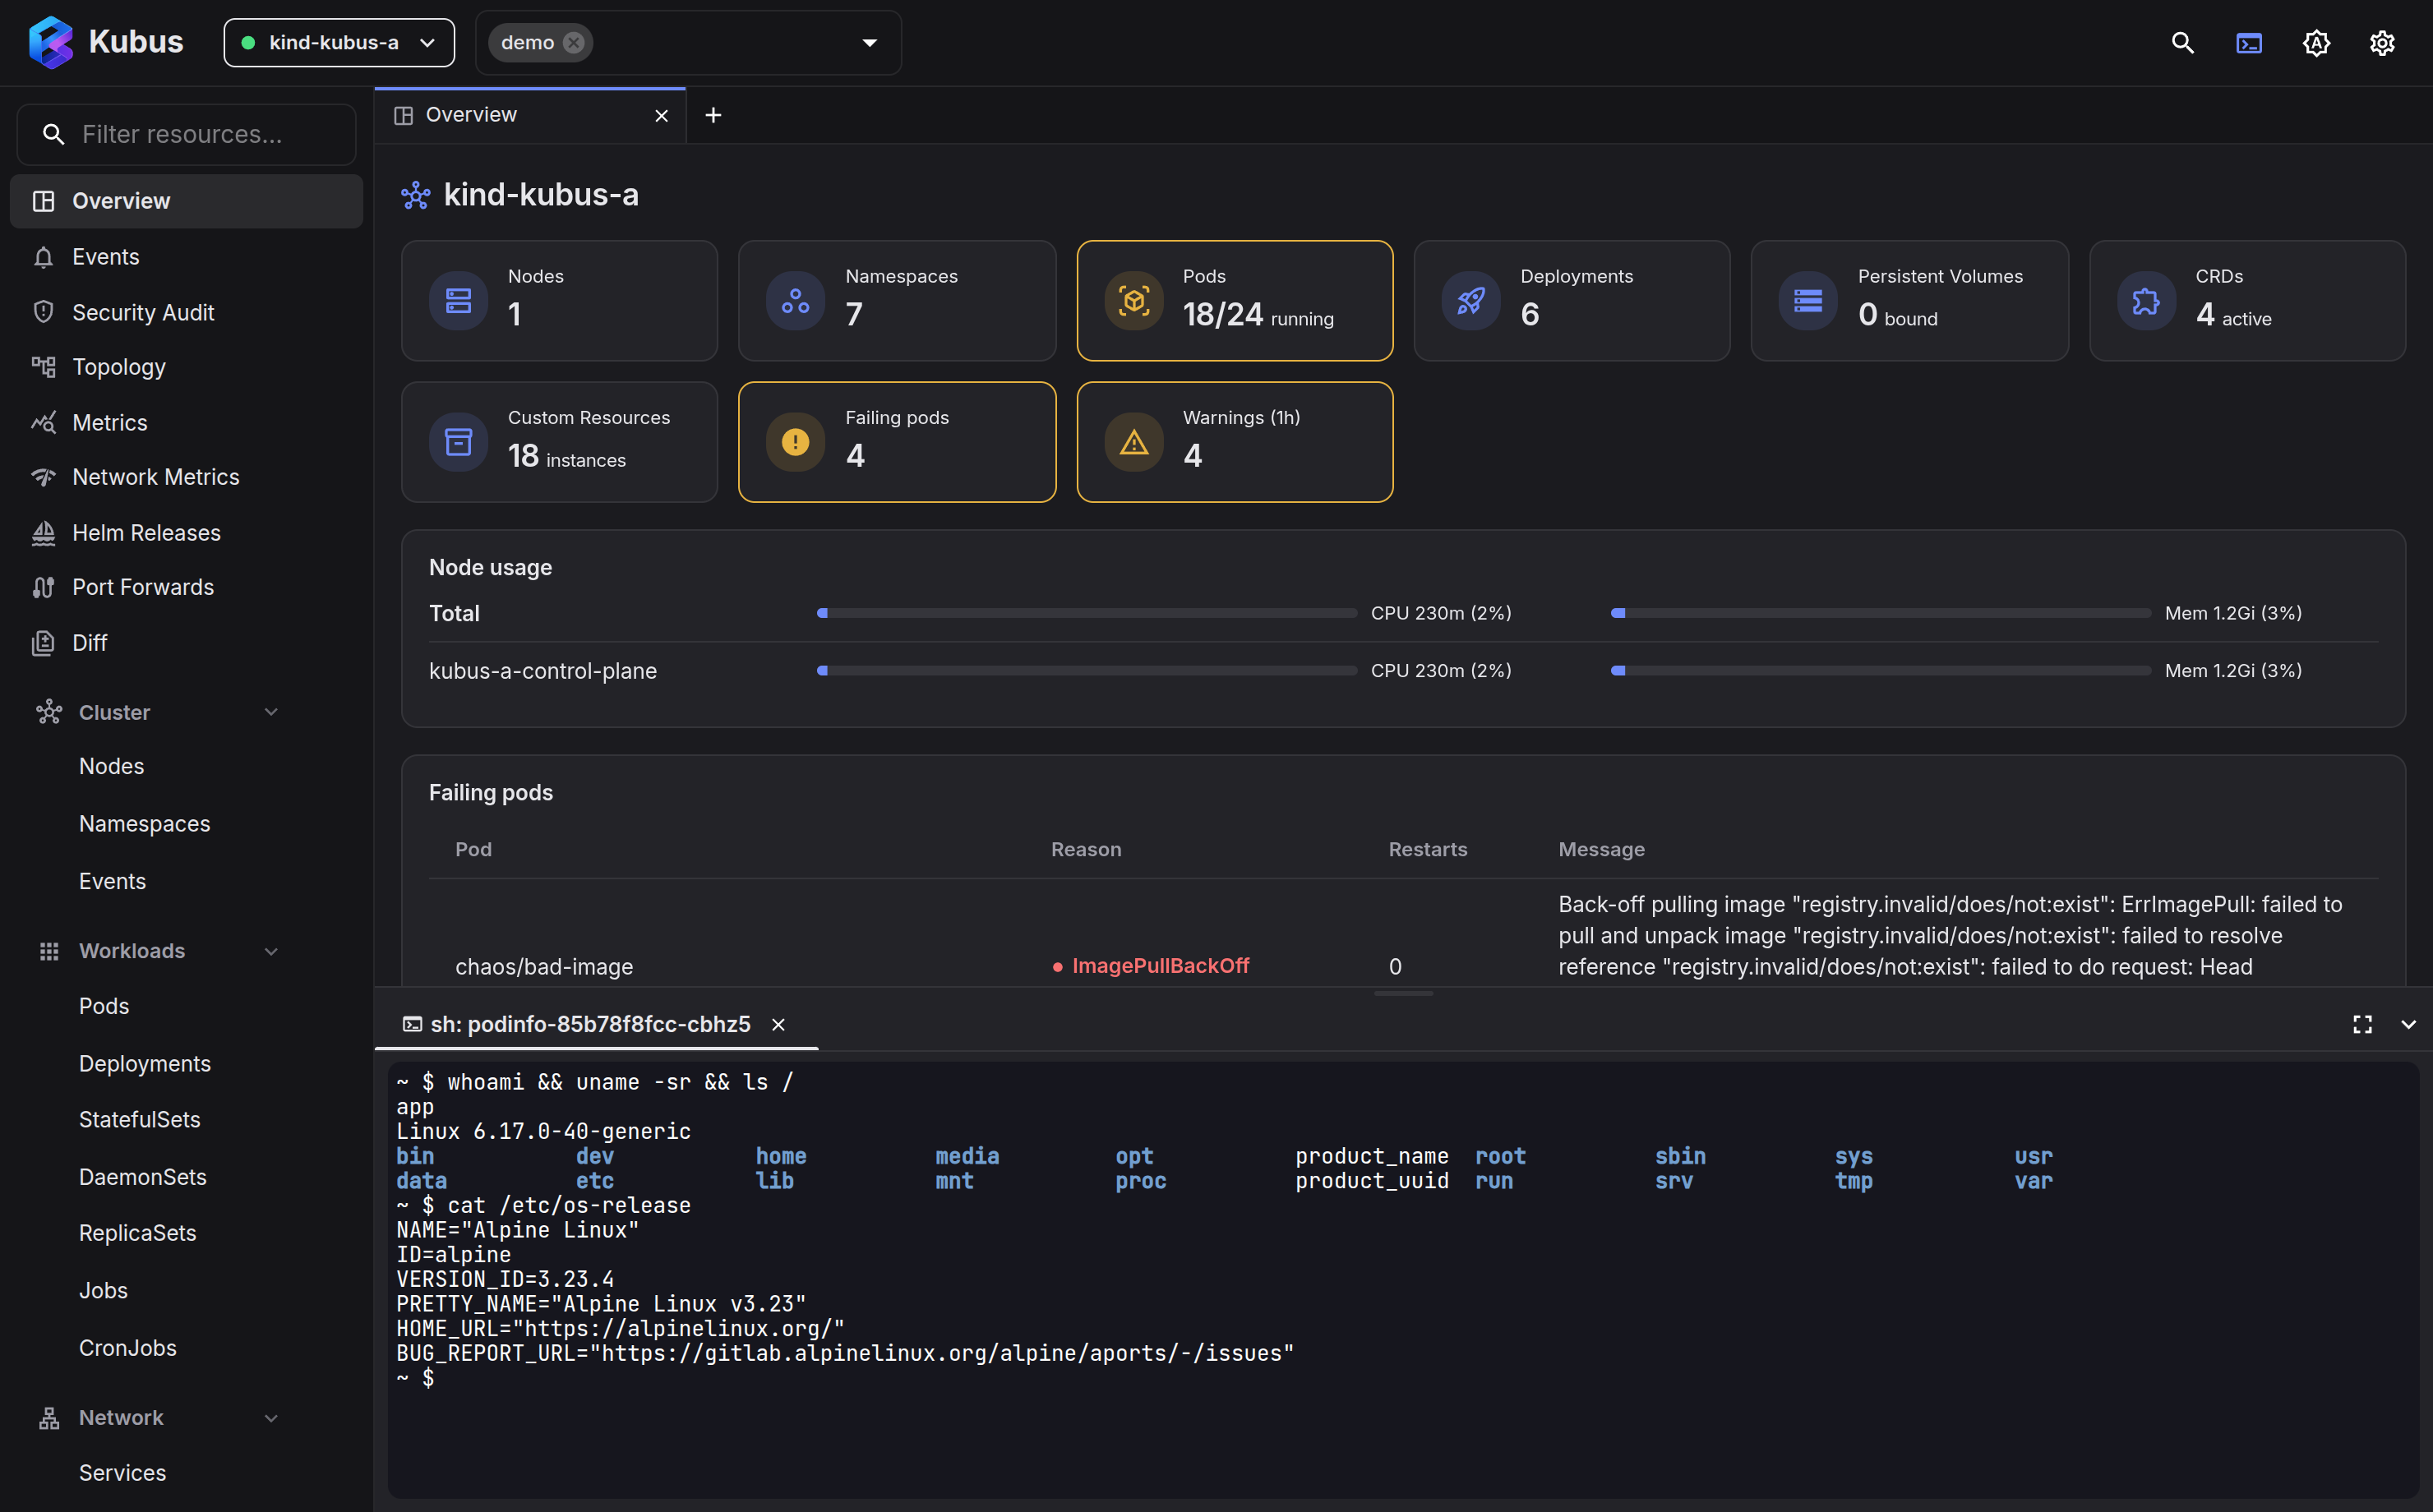
Container shell
Open a shell into any container:
- Pod ⋮ menu → Shell, or Ctrl+K → find the pod → Tab → Shell.
Kubus runs the Kubernetes exec API over a WebSocket. By default it tries bash and
falls back to sh, so it works on minimal images too. The terminal resizes with the
pane, and the session ends cleanly when you close the tab (Ctrl+W / Cmd+W on the desktop app).
You can change the default shell (or set a custom path) in Settings → Logs & terminal.
Debug containers
Some images have no shell at all: distroless, scratch, a stripped Go binary. For those, attach an ephemeral debug container:
-
Pod ⋮ menu → Debug container…
-
Pick a debug image from the catalog (default
busybox:1.36). The built-in presets cover the common cases without having to remember registry paths: busybox, the three DebugBox tiers (lite ~15 MB for DNS/HTTP checks, balanced ~47 MB with tcpdump and strace, power ~91 MB with tshark and nmap) and netshoot (~200 MB, everything). Picking DebugBox power switches the profile to Network admin for you, since its tools needNET_ADMIN. Custom image… takes any image reference, and you can add your own catalog entries (an internal toolbox image, a different busybox tag) in Settings → Debug containers; one named like a built-in preset replaces it. - Optionally pick a target container to share a process namespace with, so you can see and poke at its processes.
- Kubus attaches the ephemeral container and drops you into a shell inside it, the same
idea as
kubectl debug.
Requirements & lifetime
Ephemeral containers need Kubernetes ≥ 1.23. Once added, a debug container stays in the pod's spec until the pod is recreated.
Node shell
Sometimes you need the host itself, to check dmesg, inspect /var/log or run crictl.
The node shell launches a temporary privileged pod and nsenters into the node's
root namespace, giving you a root shell on the machine.
- Node ⋮ menu → Node shell…
Privileged access to the node
The node shell runs a privileged pod with host PID, network and IPC. Kubus warns you before starting one, and on a protected cluster you must type the node name to confirm. The helper pod is deleted when you close the terminal.
Node debug containers
The node shell only has the host's own binaries, and a minimal node OS (Talos,
Bottlerocket, Flatcar) may not ship tcpdump, dig or even bash. A node debug
container brings the tools with it: Kubus starts a pod on the node with a debug image
of your choice, the same idea as kubectl debug node/<name>.
- Node ⋮ menu → Debug container…
The dialog offers the same image catalog as pod debugging, including
your own entries from Settings → Debug containers. The pod
shares the node's process, network and IPC namespaces, so ps, ss and tcpdump see the
host, and the node's root filesystem is mounted at /host. Run chroot /host when you
need the node's own tools after all.
The profile decides what the container may do on the node:
| Profile | Access |
|---|---|
| General | The container runtime's default capabilities. Enough to read /host, list processes and inspect sockets. |
| Network admin | Adds NET_ADMIN and NET_RAW for packet capture and iptables on the node's interfaces. |
| System admin | A privileged container with full control of the node, like the node shell. |
The pod runs in the kubus-debug namespace and is deleted when you close the terminal,
or right away if the image fails to pull. On a protected cluster you
type the node name to confirm, as with the node shell.
See also
- Copying files moves files in and out of containers.
- Logs are the lighter-weight first look.